

steel wool socks keep the toenails in check


steel wool socks keep the toenails in check


When making PCBs with the toner transfer method, I’ve used photo paper intended for inkjet printers and printed (mirrored) on it with a laser printer. Then iron the paper (printed side down) onto the PCB. Some pressure is needed but not TOO much or fine traces will squish together. Soak the board with paper stuck to it in water and then the paper can be peeled off, leaving the toner transferred to the copper. Bits of stuck paper can be removed with gentle rubbing in the water with fingers or a soft toothbrush.
If the toner did not transfer well, it can easily be removed by cleaning with acetone, then repeat until successful. Key to getting a good toner transfer is to completely clean the copper first. I scrub with a scotchbrite pad and then clean with acetone and a paper towel, until completely clean and then don’t touch the copper with your fingers (greasy greasy fingerprints). Any oils or dirt will make the toner not stick. Some paper is easier to remove from the copper after ironing on - there was a specific Staples SKU (inkjet photo paper in a red box) that I remember being particularly good. I believe the inkjet paper allowed the toner to transfer and release more cleanly, with less pressure and heat required. I also found I got a nice result using the same toner transfer method onto a block of wood (purely aesthetic, not part of a circuit haha).
Some people would use laminator machines to “iron” the toner onto the copper board - I have never tried it that way, but I guess if you get the pressure and heat dialed in it could be pretty consistent. I’ve had good success using an iron by hand, after a few tries to find good temperature and pressure to apply.
I’ve also milled PCBs, there are some benefits to milling, like you can drill holes at the same time. I think 2 sided PCBs are easier to mill than to etch. The limitation of milled (and etched at home) PCBs that I find most annoying is the lack of through-plated holes. This means you have to solder in wires, and solder to both sides of the board, for every via - it really adds some design limits and assembly time. Solder mask is another (optional) step, most people I know who make their own PCBs don’t bother to use solder mask but it is available as UV-curable liquid.
Ordering PCBs is incredibly inexpensive these days. Oshpark is in the USA and a great place to get PCBs. There are places in China you can order from online like PCBway, I just priced out 5 PCBs of 100mm x 100mm, 2 layers, green solder mask, $5 + $20 shipping to Canada, delivery within a week.
Checking at a local hackerspace/makerspace is a great idea too, often there’s people around who are making their own PCBs (or at least have in the past).
I’ve both etched (using the laser printer toner transfer method) and milled PCBs for through hole and surface mount parts, it was no problem etching a board for a TQFP 100 pin part (0.5mm pin spacing). I didn’t push it further than that.

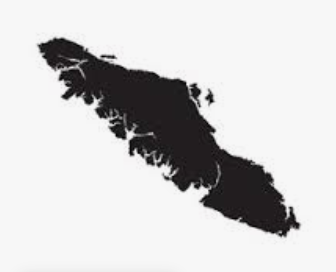
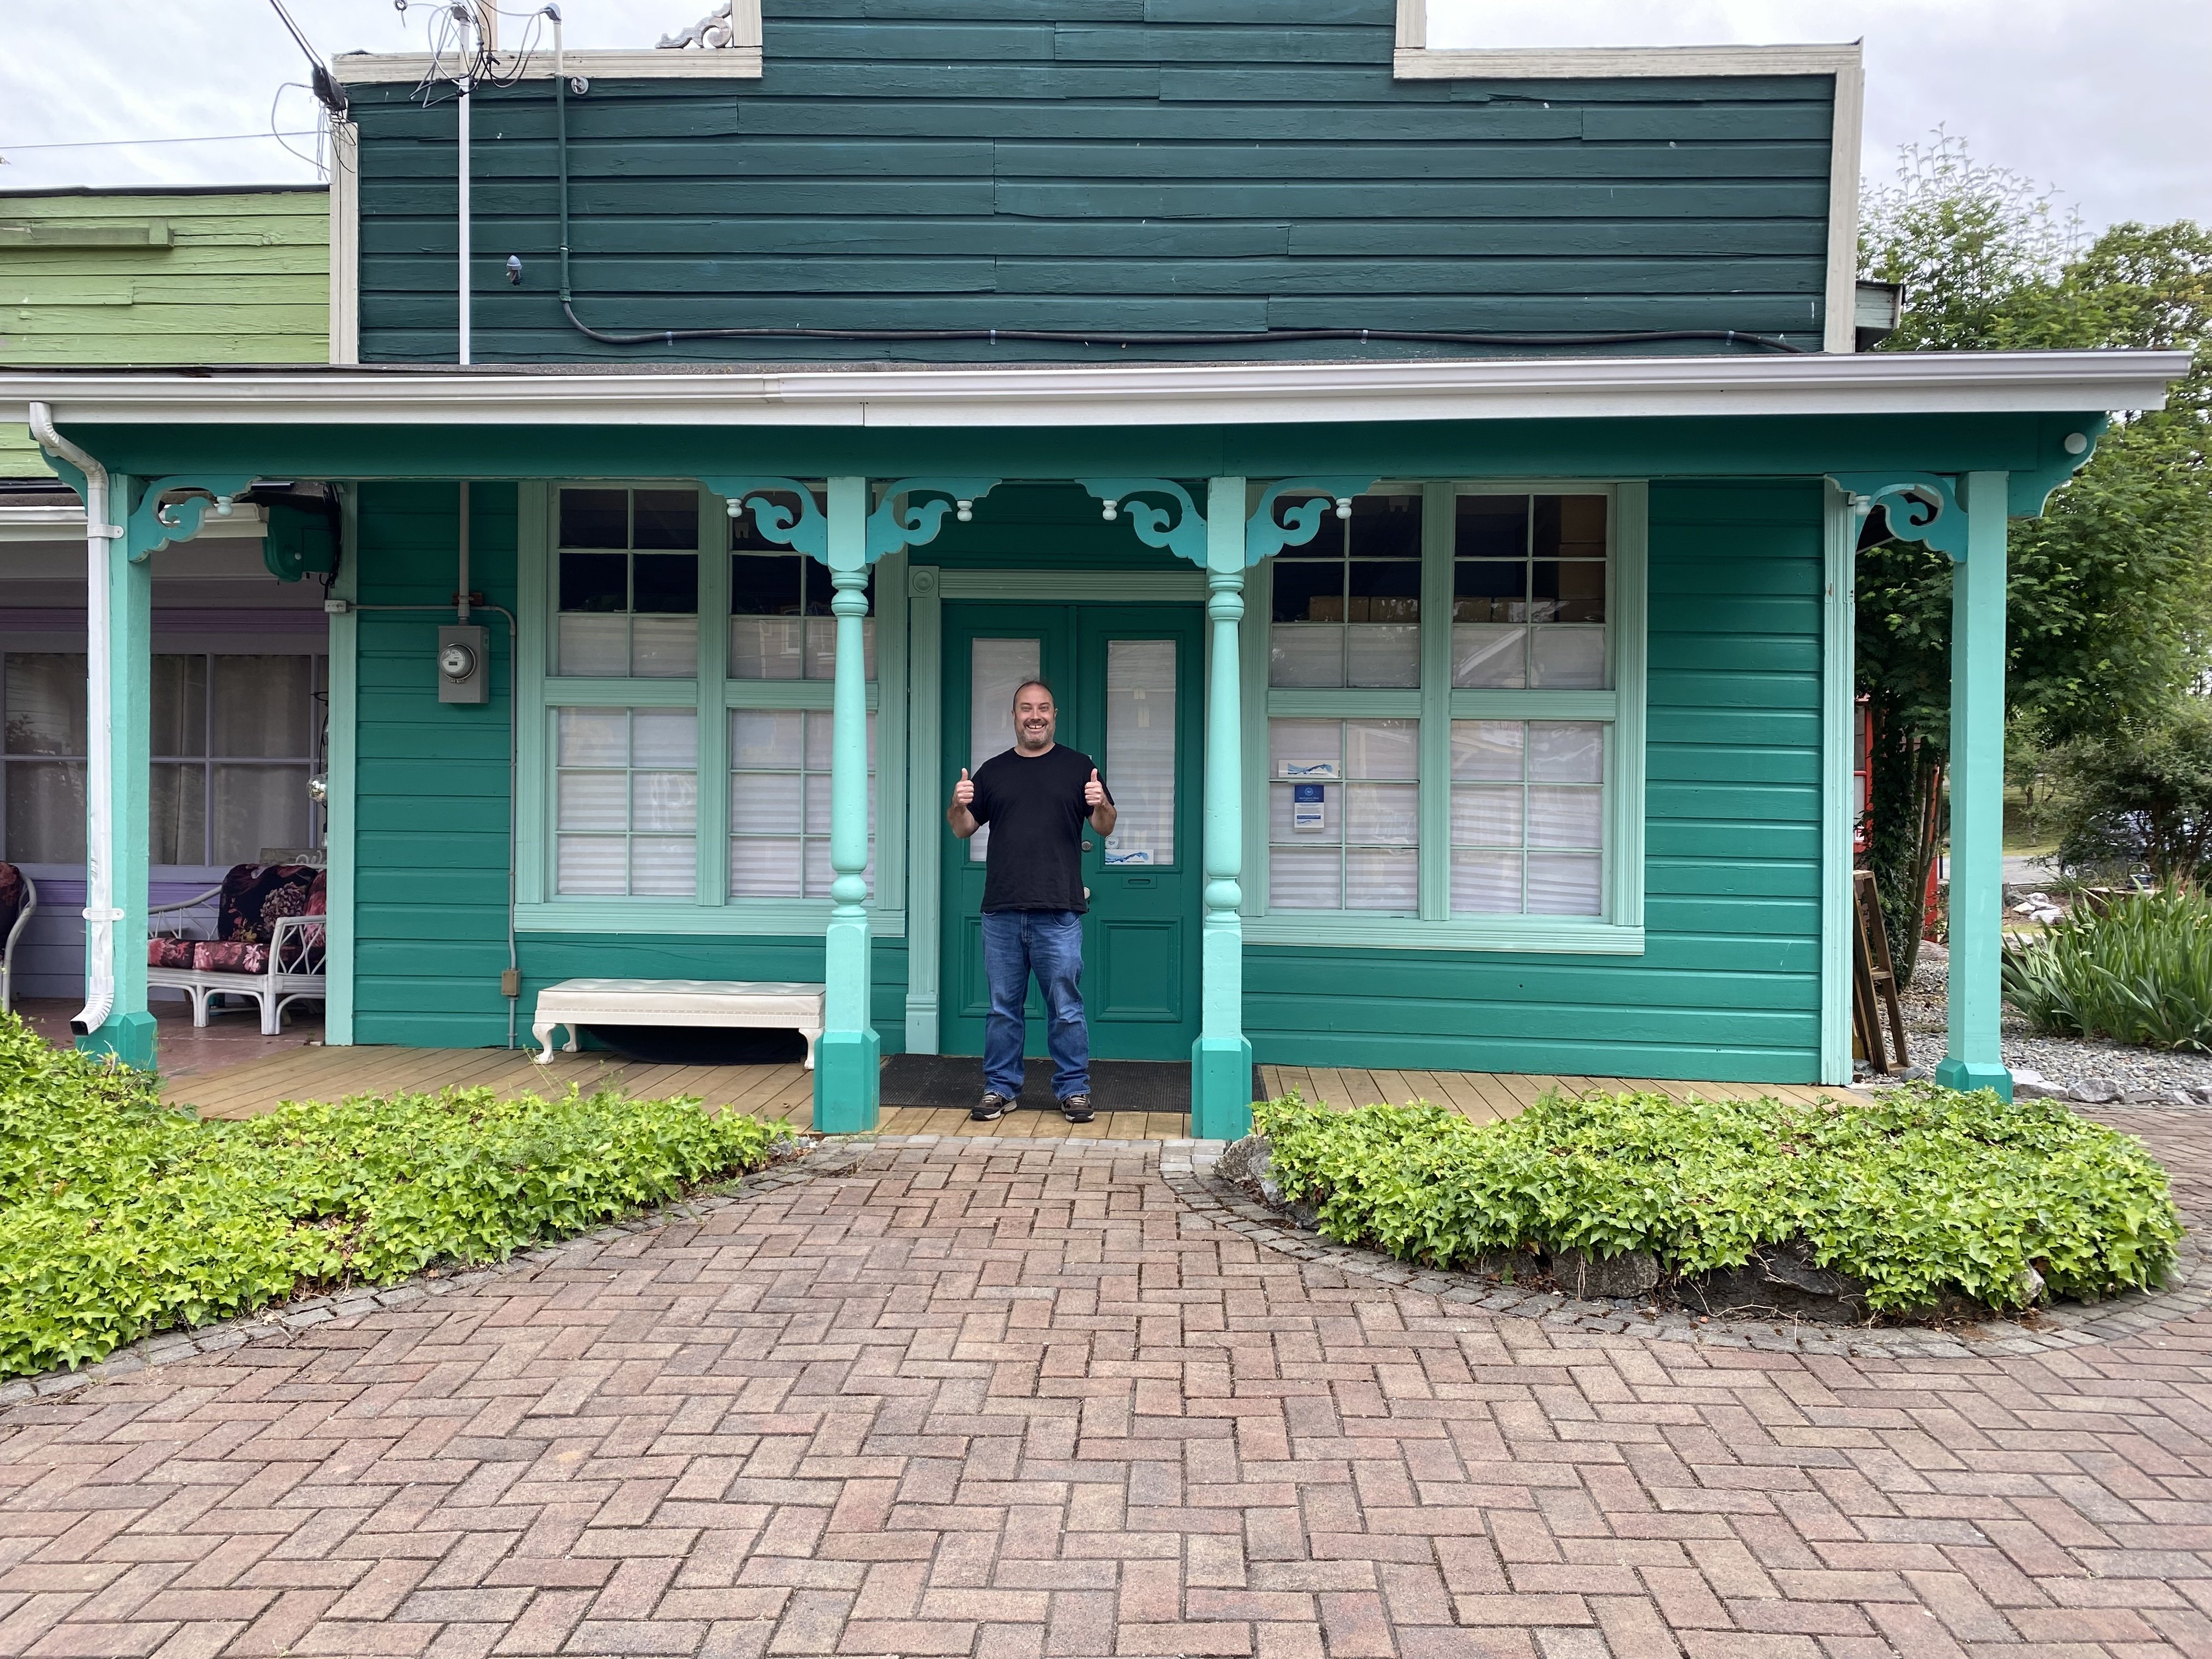 Whippletree Junction, off the Trans Canada Highway south of Duncan.


Great detective work! :) I looked briefly at the list of names but somehow ignored most of them. I was looking all over for the liquor store, and of course it’s Days Inn on the Harbour.


The teal door in a church-like building is First Memorial Funeral Services in Duncan - I had trouble identifying it also (though it had that familiar look), then on a rewatch of the video there’s a moment where they show enough of the building to include the sign.
There’s also another similar coloured door + building (with coloured posts on either side of the door), the building looks more house-like than church-like. It looks like it could fit in at Whippletree Junction, but I haven’t identified it as a specific building and that may not be the location at all.
The store with the large “LIQUOR, COLD BEER & WINE SHOP” sign looks so familiar but I haven’t been able to locate it yet.
A photo I took April 2, 2024 at Cherry Point Beach, with the beached boat:
 The boat had already been there for a few weeks by then, I don’t recall exactly when it was beached.
Went to The Brazen Fork for lunch Saturday.
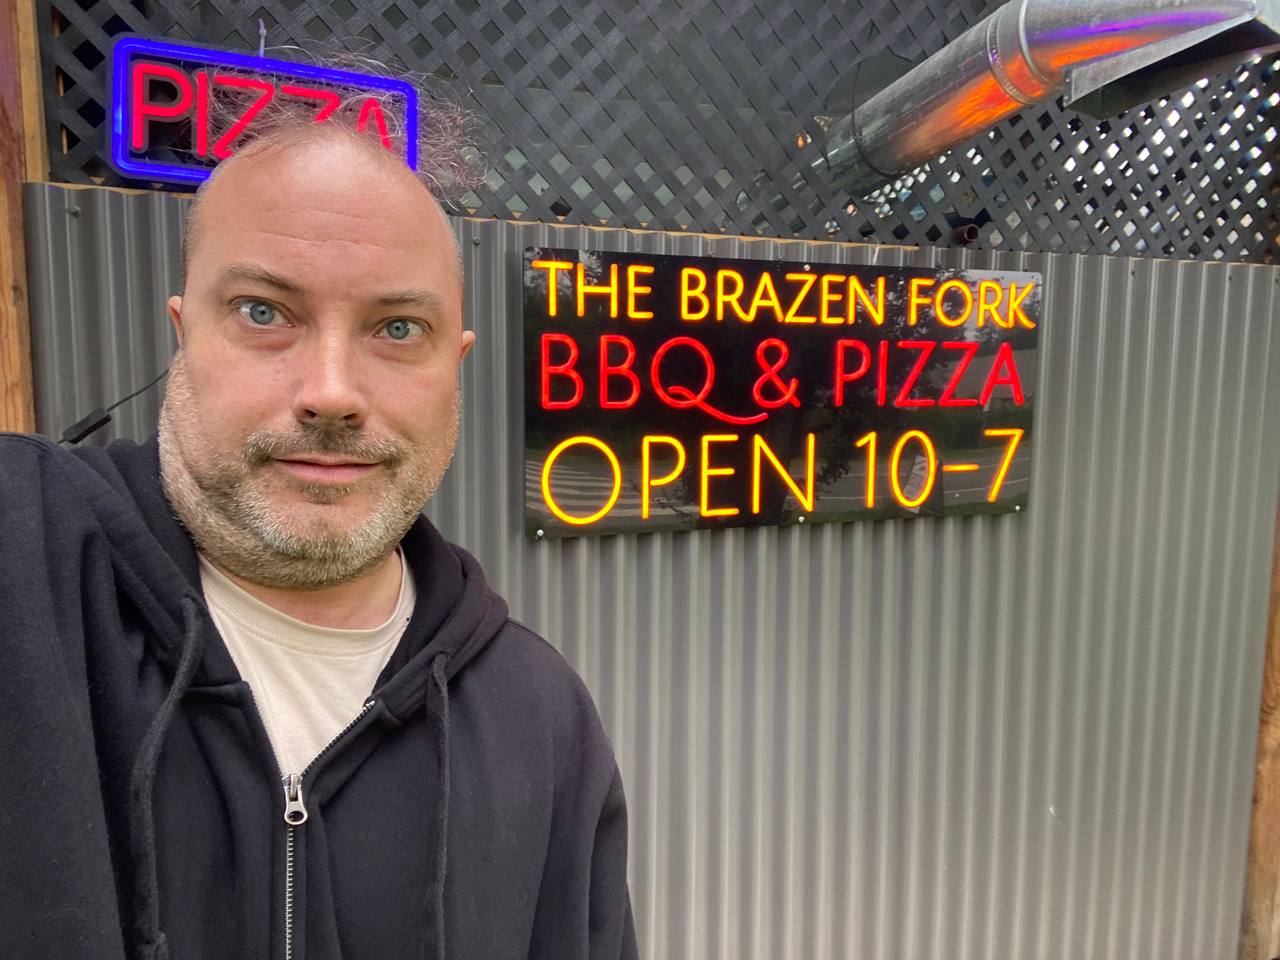 They hadn’t seen the video yet, though they definitely recognized what I was talking about as soon as I mentioned it. They had to write down the name so they could look it up! :)

It’s too bad that the first things to be automated are the tasks that people don’t mind doing, leaving the real shitty tasks to be done by people. Riding around on a lawnmower has to be one of the most enjoyable forms of manual labour. Now the robots get the good jobs and we’re left with the backbreaking monotonous bullshit.


Fantastic! As soon as I saw the first photo I thought “what a wonderful play room!” and also I want to play in all the rest too. :)


Where is this? What is this?
Beautiful desk and equipment!


Adding solder mask is an optional step. If you use an etch resist like toner or dry film, you have a functional PCB even without solder mask. The solder mask is the unnecessary step that can be skipped.
Using solder mask as an etch resist, you would have to scrape away the remaining mask in areas where you want exposed pads - you would either need another mask for this, or to manually scrape each pad, adding an unnecessary step.
For my Samsung 85" TV, entering the wifi password was a requirement - without wifi access, several weeks after installation, the TV stopped displaying video from any input. The only solution was to enter the wifi password, at which point the TV immediately returned to normal operation.
Just because it appears to be optional to connect the device to internet does not mean the basic functionality will work.